English


How Whirlybirds Work? How to Decide How Many Whirlybirds You Need on Your Roof?
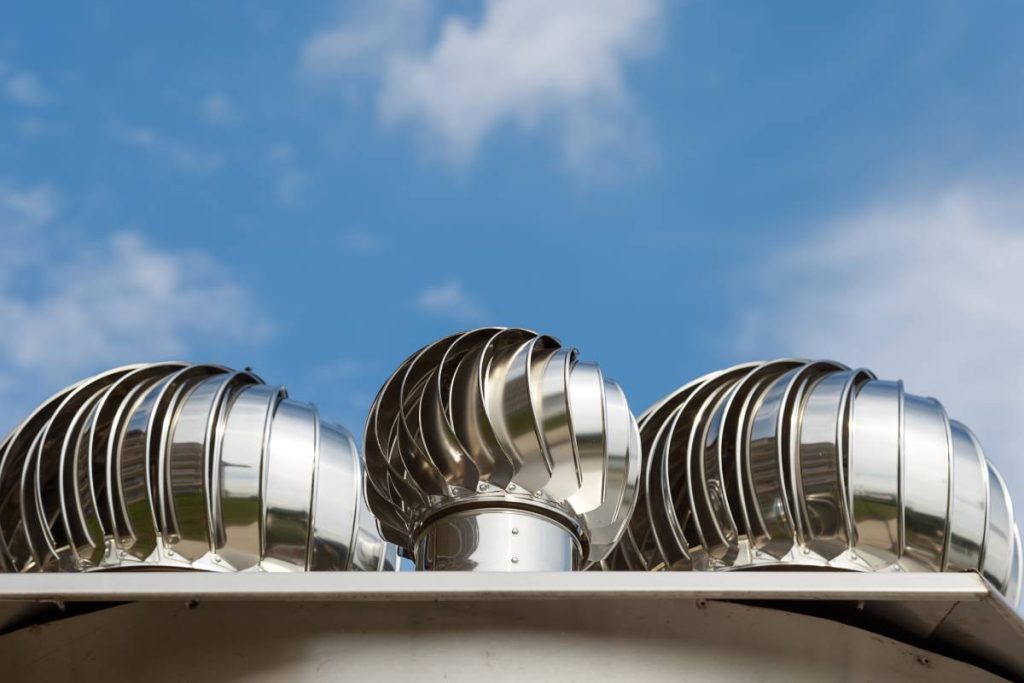
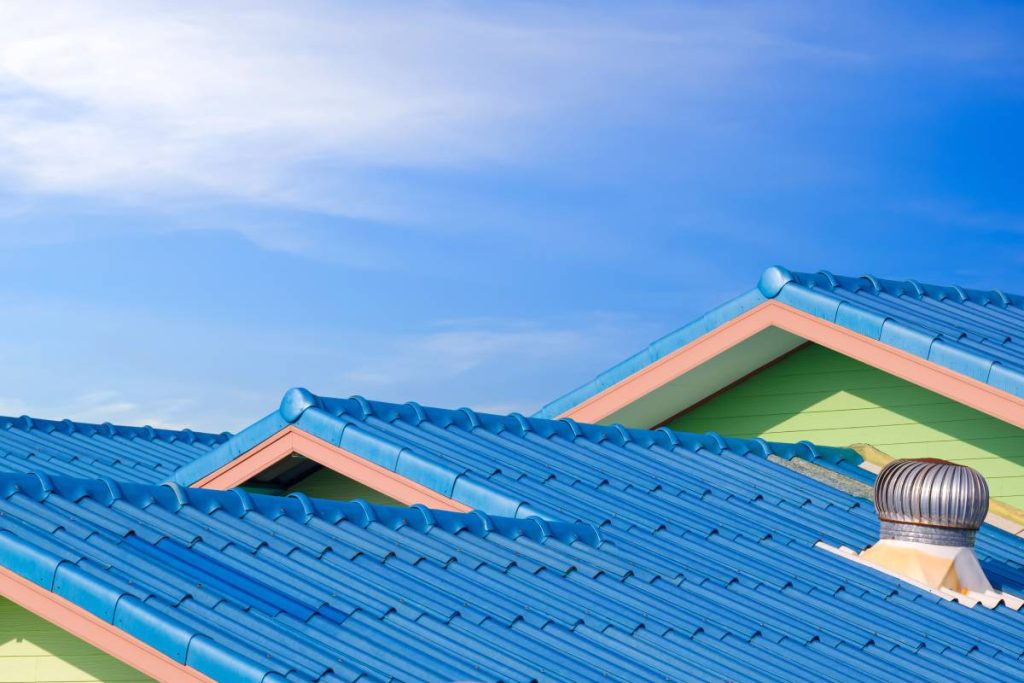
Whirlybirds, also known as turbine vents, are a type of wind-powered ventilation system for your home. They use the wind to pull warm air from the attic, replacing it with fresh air.
Having a good roof ventilation system is crucial for your home. Without proper ventilation, your roof shingles can crack due to a lack of temperature control. Moreover, the absence of roof ventilation may lead to mould growth in your home.
To prevent mould and roof damage, you might be wondering how many whirlybirds you need to install. Keep reading to find the answer and learn more.
How Whirlybirds Work?
Whirlybirds, also known as roof vents or turbine vents, are nifty devices designed to improve ventilation in buildings. They play a crucial role in maintaining a comfortable and healthy indoor environment by expelling hot and stale air. But how exactly do these whirlybirds work?
Let’s break it down in a simple and easy-to-understand way.
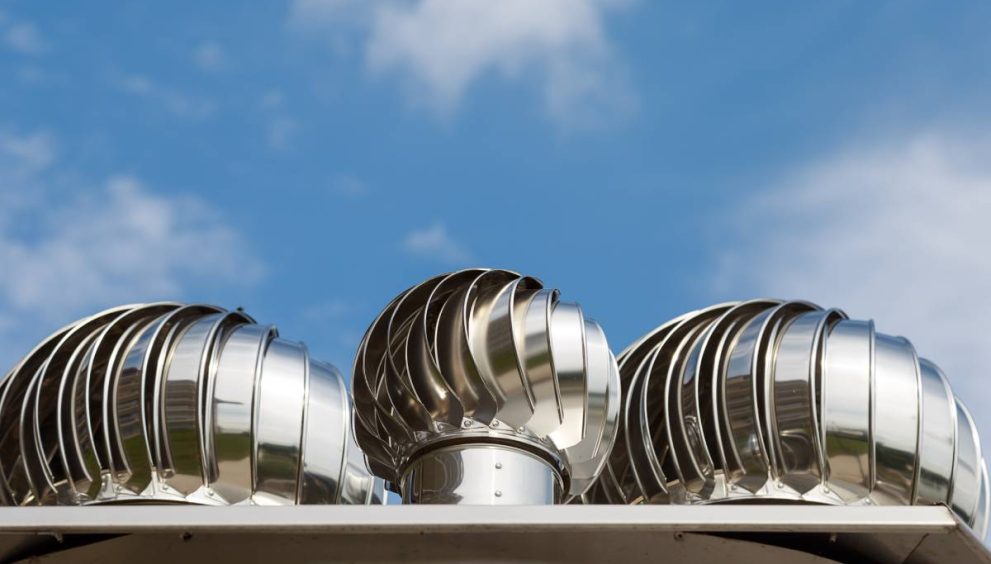
- Design Basics: Whirlybirds have a straightforward design consisting of a series of vanes or blades arranged in a circular manner. These vanes are attached to a central shaft, forming a turbine-like structure. The entire unit is typically installed on the roof of a building.
- Wind-Powered Action: The magic behind whirlybirds lies in harnessing the power of the wind. As the wind blows, it interacts with the vanes of the whirlybird, causing them to spin. This rotational movement is the key to the ventilation process.
- Heat and Stale Air Removal: As the vanes rotate, they create a low-pressure zone within the whirlybird. This low pressure acts like a vacuum, drawing out hot and stale air from the interior of the building. This process is particularly effective in attics or enclosed spaces where air circulation can be limited.
- Natural Convection: Whirlybirds leverage the principles of natural convection. Hot air naturally rises, and the spinning action of the whirlybird facilitates the upward movement of this hot air. As the hot air is expelled, it creates room for cooler, fresh air to replace it, promoting a continuous cycle of ventilation.
- No Electricity Needed: One of the notable advantages of whirlybirds is their energy efficiency. Unlike electric-powered ventilation systems, whirlybirds rely solely on wind energy. This means they operate without the need for electricity, reducing energy costs and environmental impact.
- Maintenance-Free: Whirlybirds are generally low-maintenance devices. Their simple design and reliance on wind power make them durable and long-lasting. Regular cleaning to remove dust or debris is usually sufficient to keep them functioning optimally.
- Climate Adaptability: Whirlybirds are versatile and can work effectively in various climates. Whether it’s a hot summer day or a cold winter night, these devices help regulate the temperature inside a building by expelling excess heat or moisture.
In summary, whirlybirds work by harnessing the power of the wind to create a natural and energy-efficient ventilation system. Their simple design, wind-powered action, and ability to remove heat and stale air make them valuable additions to buildings, providing a cost-effective and eco-friendly solution to improve indoor air quality and comfort.
How to Decide How Many Whirlybirds You Need on Your Roof?
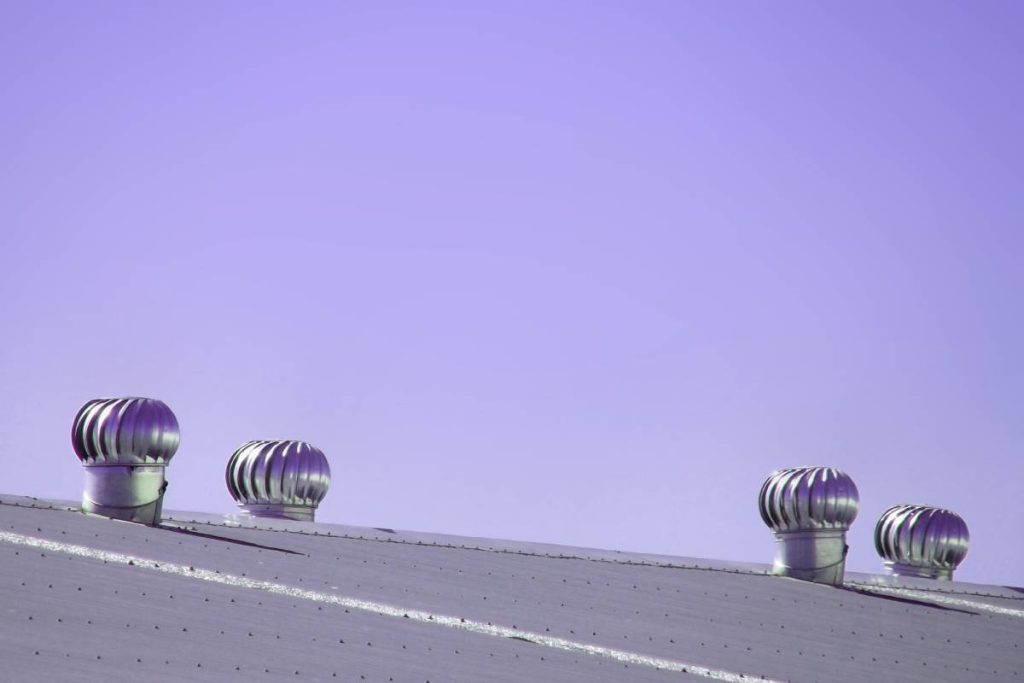
Deciding how many whirlybirds you need on your roof might sound like a complex task, but fear not – it’s actually a straightforward process. Whirlybirds, those nifty roof vents that help keep your space well-ventilated, play a crucial role in maintaining a comfortable indoor environment. Here’s a simple guide to help you figure out the right number for your roof without breaking a sweat.
- Calculate Roof Area: First things first, take a look at your roof and calculate its total area. This involves measuring the length and width of your roof and multiplying these two dimensions. The result is the total square footage of your roof.
- Consider Ventilation Recommendations: Ventilation experts typically recommend a certain amount of ventilation per square foot of attic space. As a rule of thumb, the general recommendation is around 1 square foot of ventilation for every 300 square feet of attic space. This includes both intake and exhaust vents. So, if your attic is 900 square feet, you would aim for 3 square feet of ventilation.
- Determine the Type of Ventilation: Whirlybirds are just one type of ventilation, and it’s crucial to consider other ventilation options, such as soffit vents or ridge vents. The combination of intake and exhaust vents ensures a balanced ventilation system. Whirlybirds, being exhaust vents, work well in conjunction with intake vents to facilitate proper air circulation.
- Understand Whirlybird Ventilation Capacity: Each whirlybird has a specific ventilation capacity, usually measured in cubic feet per minute (CFM). Check the product specifications to find out how much air a single whirlybird can move. This information helps you determine how many whirlybirds are needed to achieve the recommended ventilation for your roof area.
- Factor in Climate and Roof Design: Consider the climate in your region. Hotter climates may require more ventilation to expel excess heat. Additionally, if your roof has unique features like multiple peaks or valleys, you might need additional whirlybirds to ensure proper air circulation in those specific areas.
- Use the 1:300 Rule: To simplify the decision-making process, you can stick to the 1:300 rule mentioned earlier. Aim for 1 square foot of ventilation (combined intake and exhaust) for every 300 square feet of attic space. Divide this square footage by the ventilation capacity of a single whirlybird to determine the number needed.
- Consult a Professional if Needed: If the calculations feel overwhelming or if you have a complex roof structure, don’t hesitate to consult with a ventilation professional. They can provide personalized recommendations based on your specific situation, ensuring optimal ventilation for your home.
Do You Need to Maintain Whirlybirds Once They Are on Your Roof?
Maintaining whirlybirds on your roof is a key aspect of ensuring their longevity and effectiveness in keeping your space well-ventilated. While whirlybirds are generally low-maintenance devices, a little care goes a long way.
Let’s delve into why maintenance matters and what simple steps you can take to keep your whirlybirds in top-notch condition.
- Dust and Debris: Over time, dust, leaves, and other debris can accumulate on the vanes or blades of your whirlybirds. This buildup can hinder their ability to spin freely and impede proper ventilation. Regularly inspect and clean your whirlybirds, especially after seasons with heavy winds or storms, to ensure unobstructed airflow.
- Check for Wear and Tear: Like any mechanical device, whirlybirds can experience wear and tear over time. Periodically inspect the moving parts, including the bearings and the central shaft. Look out for any signs of rust, corrosion, or damage. If you notice issues, address them promptly to prevent further damage and maintain the smooth operation of your whirlybirds.
- Secure Fastenings: Whirlybirds are typically secured to the roof with fastenings such as screws or bolts. Regularly check these fastenings to ensure they are secure. Loose or missing fasteners can compromise the stability of the whirlybird, especially during strong winds. Tighten or replace any loose or damaged fastenings to keep your whirlybirds securely in place.
- Inspect Roof Integrity: The installation of whirlybirds involves creating an opening in the roof for proper ventilation. Periodically inspect the roof around the whirlybirds to ensure that the integrity of the roof remains intact. Look for any signs of leaks or damage around the installation site. If you notice issues, address them promptly to prevent water damage to your home.
- Clean Surrounding Area: Whirlybirds rely on the wind to operate efficiently. Ensure that the area around your whirlybirds is free from obstructions, such as overgrown branches or other structures that could block the wind. Trim any nearby vegetation and remove debris to maximize the effectiveness of your whirlybirds.
- Monitor for Unusual Sounds: Pay attention to any unusual sounds coming from your whirlybirds during operation. Grinding, squeaking, or clanking noises may indicate a mechanical issue. Investigate the source of the sounds and address it promptly to prevent further damage.
- Consider Seasonal Maintenance: Implementing seasonal maintenance routines can help keep your whirlybirds in top shape. Perform a thorough check before the onset of extreme weather conditions, such as winter storms or scorching summers. This proactive approach can prevent potential issues and ensure that your whirlybirds operate efficiently year-round.
In summary
Knowing how whirlybirds work, deciding how many you need, and keeping up with maintenance all contribute to a more comfortable home. Whirlybirds, with their simple wind-powered design, offer an eco-friendly way to keep your space well-ventilated.
Choosing the right number of whirlybirds is about considering your roof size, following ventilation recommendations, and understanding your local climate. Stick to the 1:300 rule, and if it gets confusing, professionals can help guide you to the best decision.
Once your whirlybirds are installed, a bit of regular maintenance goes a long way. Simple tasks like cleaning away debris, checking for wear and tear, and making sure everything is securely fastened keep your whirlybirds working well. These small efforts help ensure your home stays comfortable and energy-efficient.
So, from grasping the basics of how whirlybirds operate to making smart choices on quantity and staying on top of maintenance, you’re on your way to creating a breezy and harmonious home. Whirlybirds show us that with a touch of simplicity and some regular care, you can enhance the comfort and sustainability of your living space.